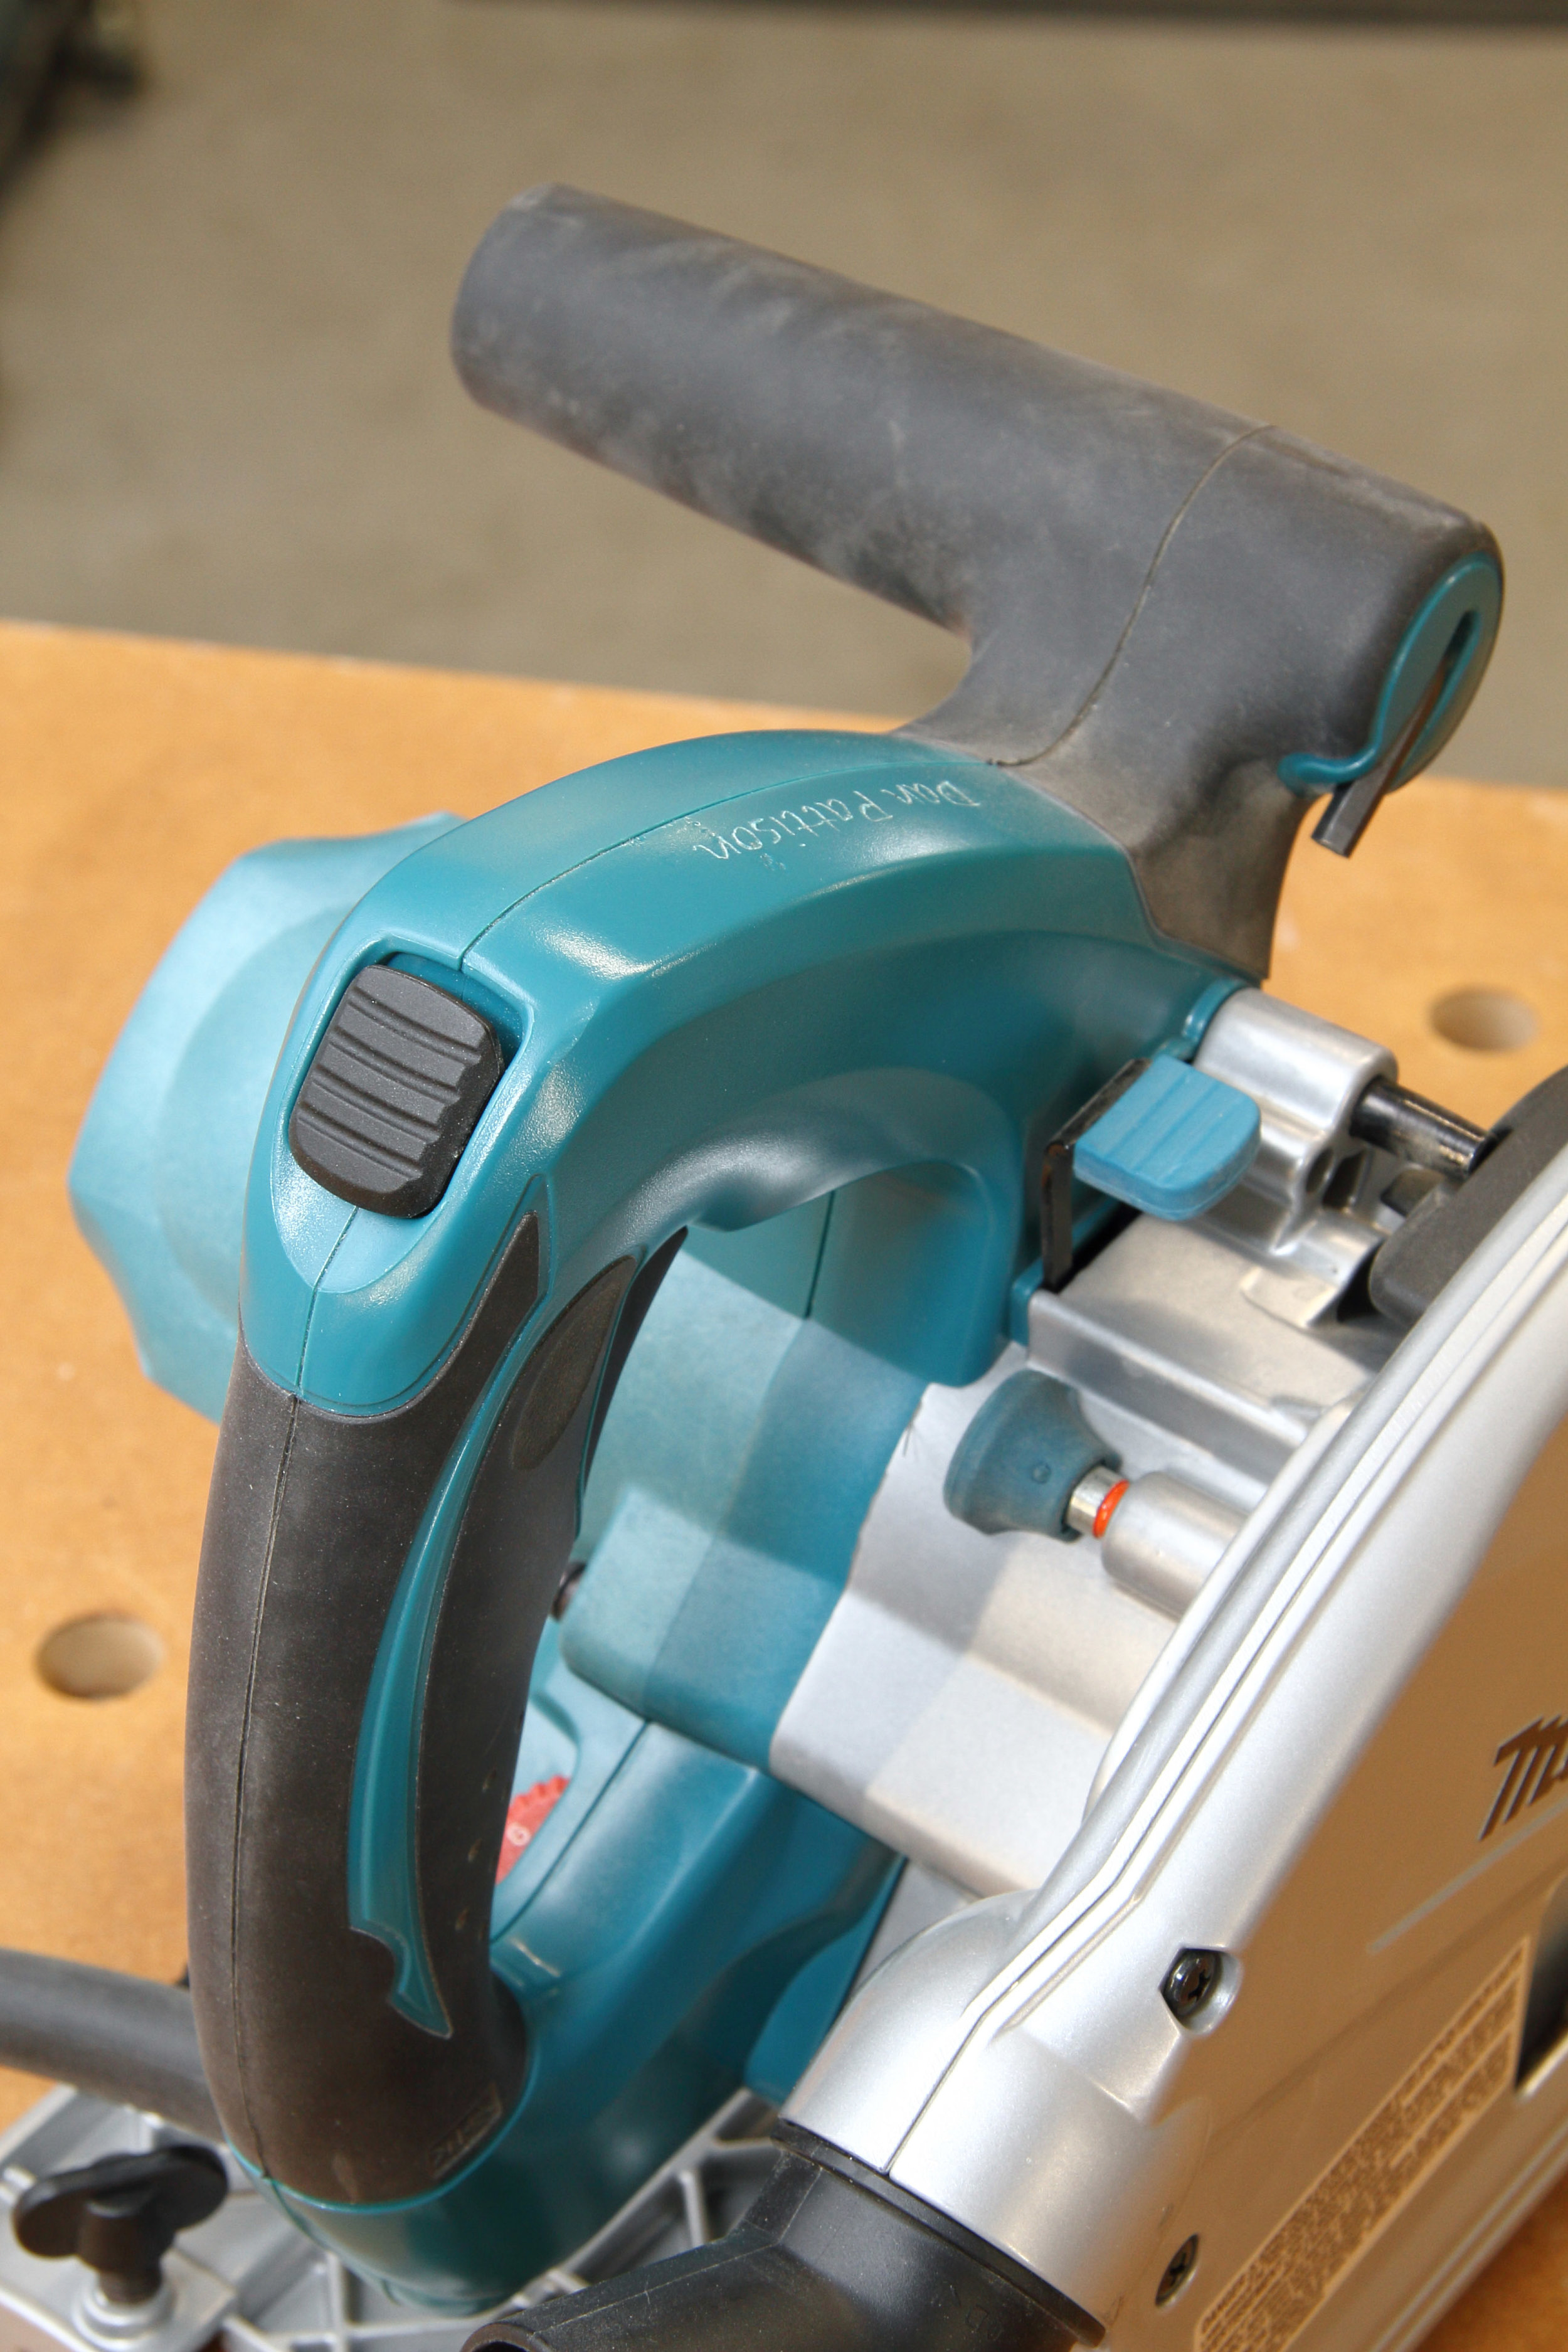
Makita SP6000 track saw & 55" guide rail
If you have never used a track saw before, then you are definitely missing out on a great tool. When it comes to breaking down sheet goods or making straight, precise cuts, you can't beat the accuracy of a track saw. Unlike a table saw where you take the work to the saw, the track saw is taken to the work which makes it much easier to deal with large or heavy work pieces. I used to think that my circular saw with a straight edge worked just fine but once I bought my Makita SP6000 track saw, I found out how different they really are. No more marking offsets or worrying about splintering. Lay the edge of the track down where you want the cut and that is exactly where the cut will be. No fuss, no splintering. The idea behind a track saw guide rail is that the edge of the splinter strip provides an accurate reference to where the cut will be and also gives a zero clearance cut which is what avoids splintering.
I've had the Makita SP6000 track saw for 3 years now and it gets used a lot both in the shop and on site. Where it really shines for me is working with sheet goods, which I do a lot of as a cabinet maker. In addition to reviewing the Makita, I will share some of the ways that I use the saw in my work and which accessories that I find helpful. You can view my full video review at the bottom as well as recommended Amazon purchase links.
(I receive a small commission from the use of any of the Amazon affiliate links throughout the article at no extra cost to you. Any support is very much appreciated!)
Why I Purchased the Makita
I will go through all of the main features of the Makita SP6000, but there are three top features that really sold me when comparing it to the competition.
The Motor
The motor is rated at 12 amps which is a little bit more than some of the competition. Some of the tasks that I have used the Makita for such as cutting butcher block countertop are more demanding and I appreciate that extra power that the saw has. The soft start feature is also a plus since that eliminates the saw jumping from start up torque.
Anti-Tip Lock
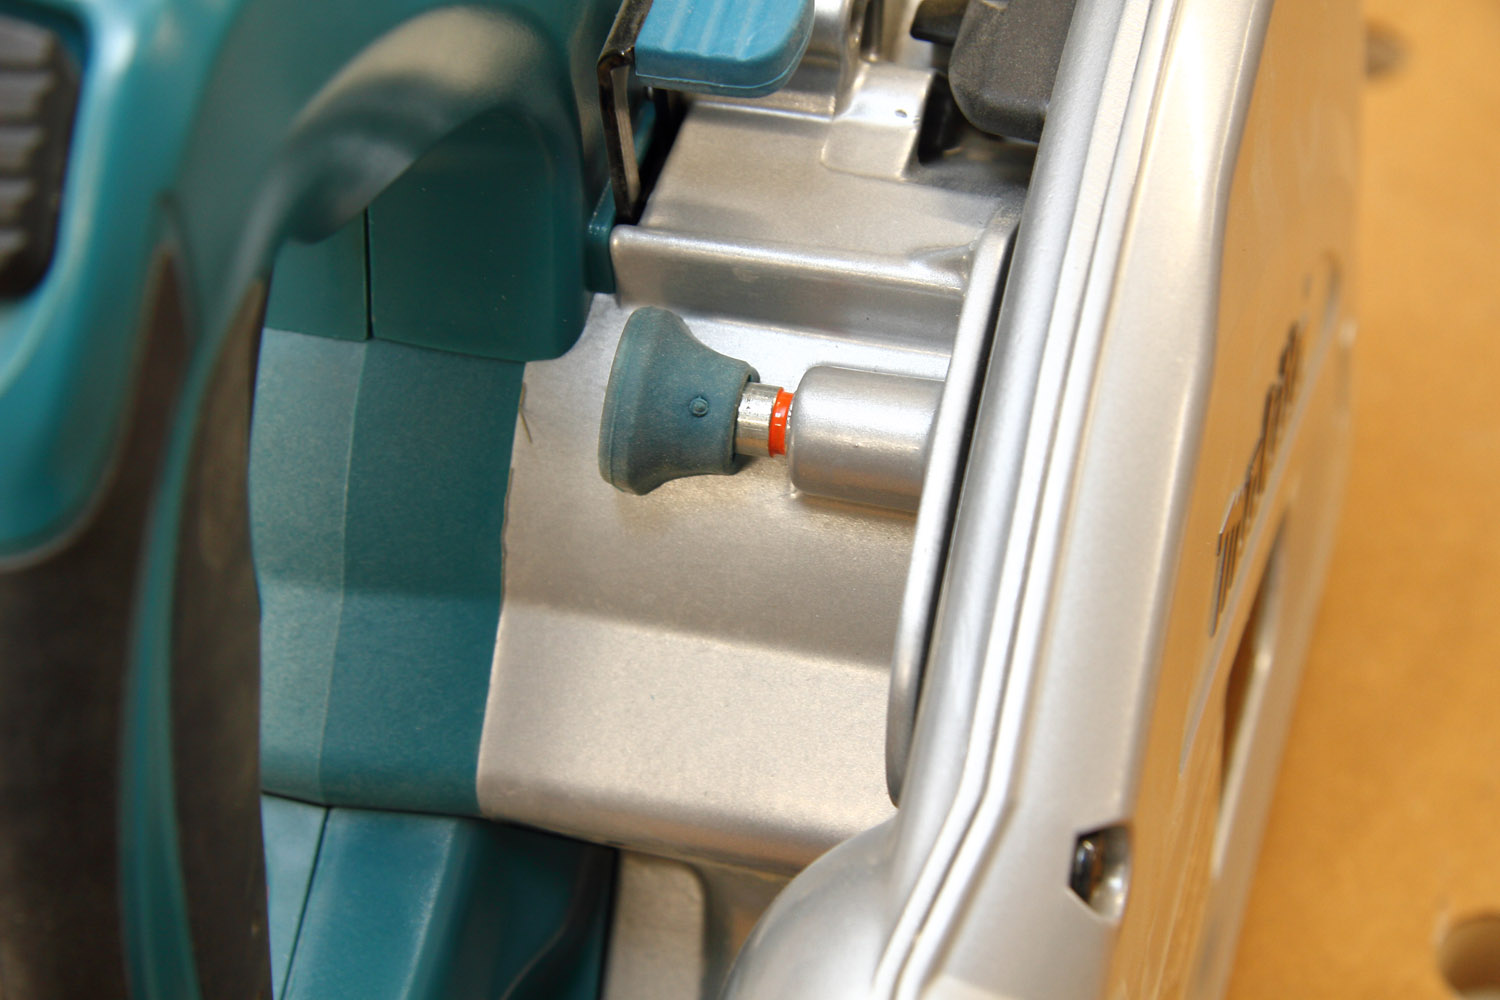
The saw has an anti-tip lock feature which keeps the saw from tipping off the track when it's set for a bevel cut. The mechanism is very simple but effective with a small metal disc that slides into a groove in the track.
Score Cut Setting
With the simple push of a button, the Makita will give a 2mm deep score cut in materials that are prone to chipping or splintering like delicate veneers or laminate. Once the score cut is made then you pull the button back out and make a full depth cut right through the material. This leaves a splinter-free cut on both sides of the kerf, not just the side with the track.
Features
Track Fit Knobs
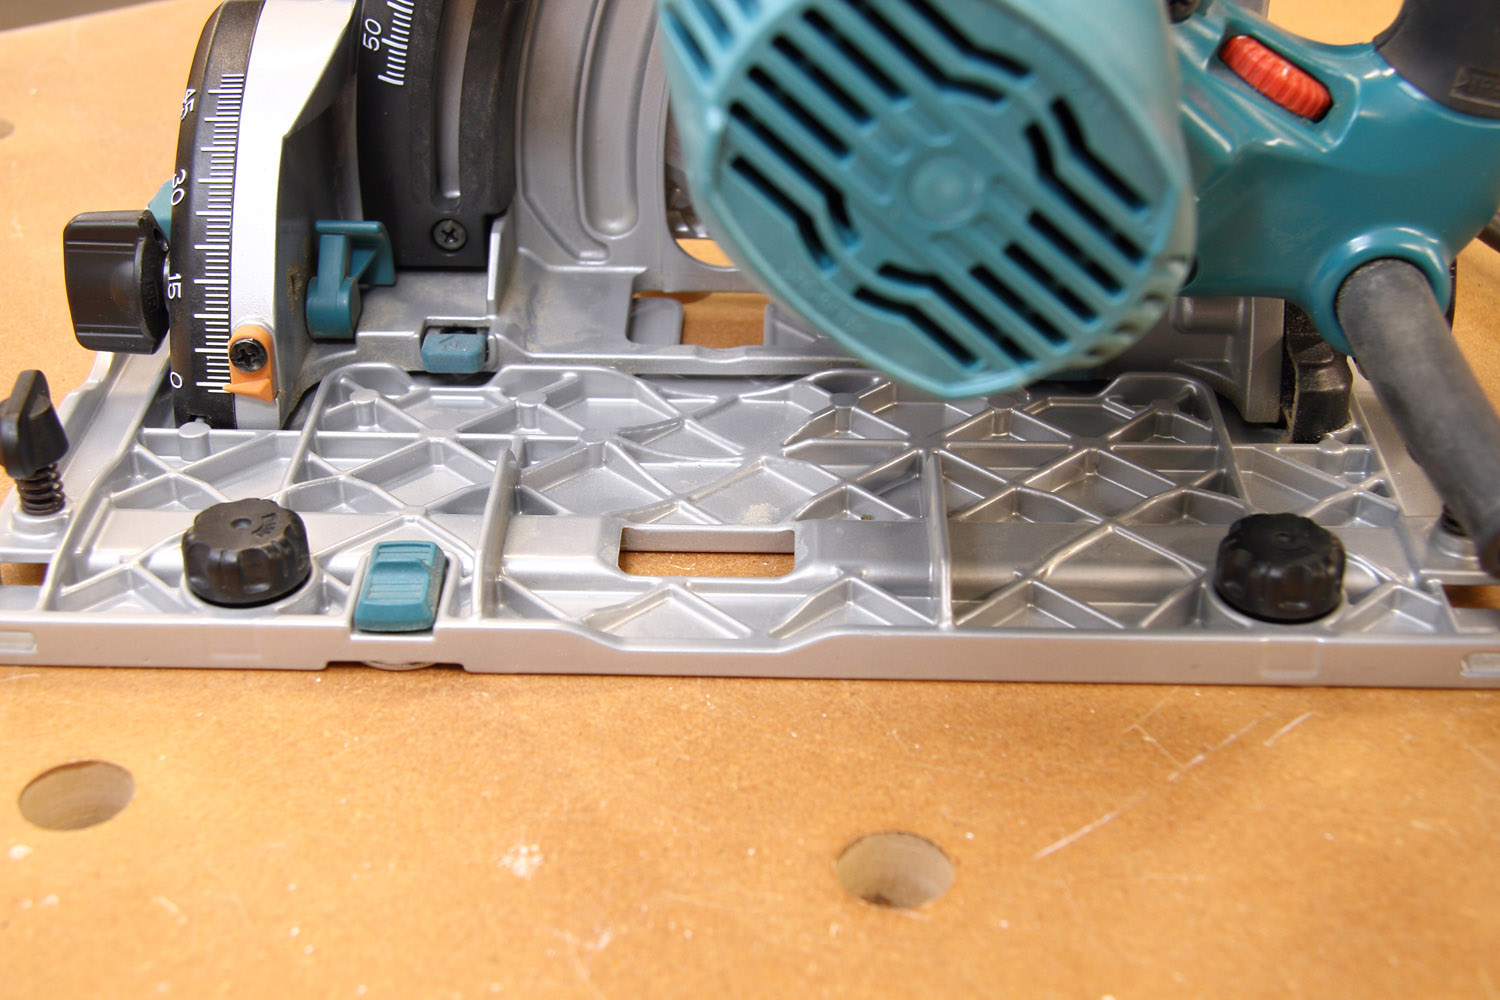
The Makita can be easily adjusted for just the right fit on the guide rail rib with a couple knobs that control how tight or loose the fit is. You want the fit to be snug but not so tight that the saw is difficult to slide.
Depth Scale & Lock Knob
The depth scale is easy to read but it would be nice if there was an option for an imperial scale rather than just the metric. I use a cheat sheet with all of my common material thicknesses and the corresponding depth setting to get around this. The lock knob for the depth setting locks solidly but it would be good if it was a little bit bigger for people with larger fingers.
Bevel Adjustment
There is a lock knob front and back for the bevel adjustment and they are both easy to operate. The scale is easy to read and there are built-in stops at 22.5°, 45° and 90°. There are also overrides that allow the saw to be tilted all the way to 48° as well as -1° for back bevel cuts. The great thing about track saws is that when you bevel the saw it doesn't change where the cut happens. The edge of the guide rail splinter guard is still where the cut happens, regardless of the bevel angle.
Variable Speed
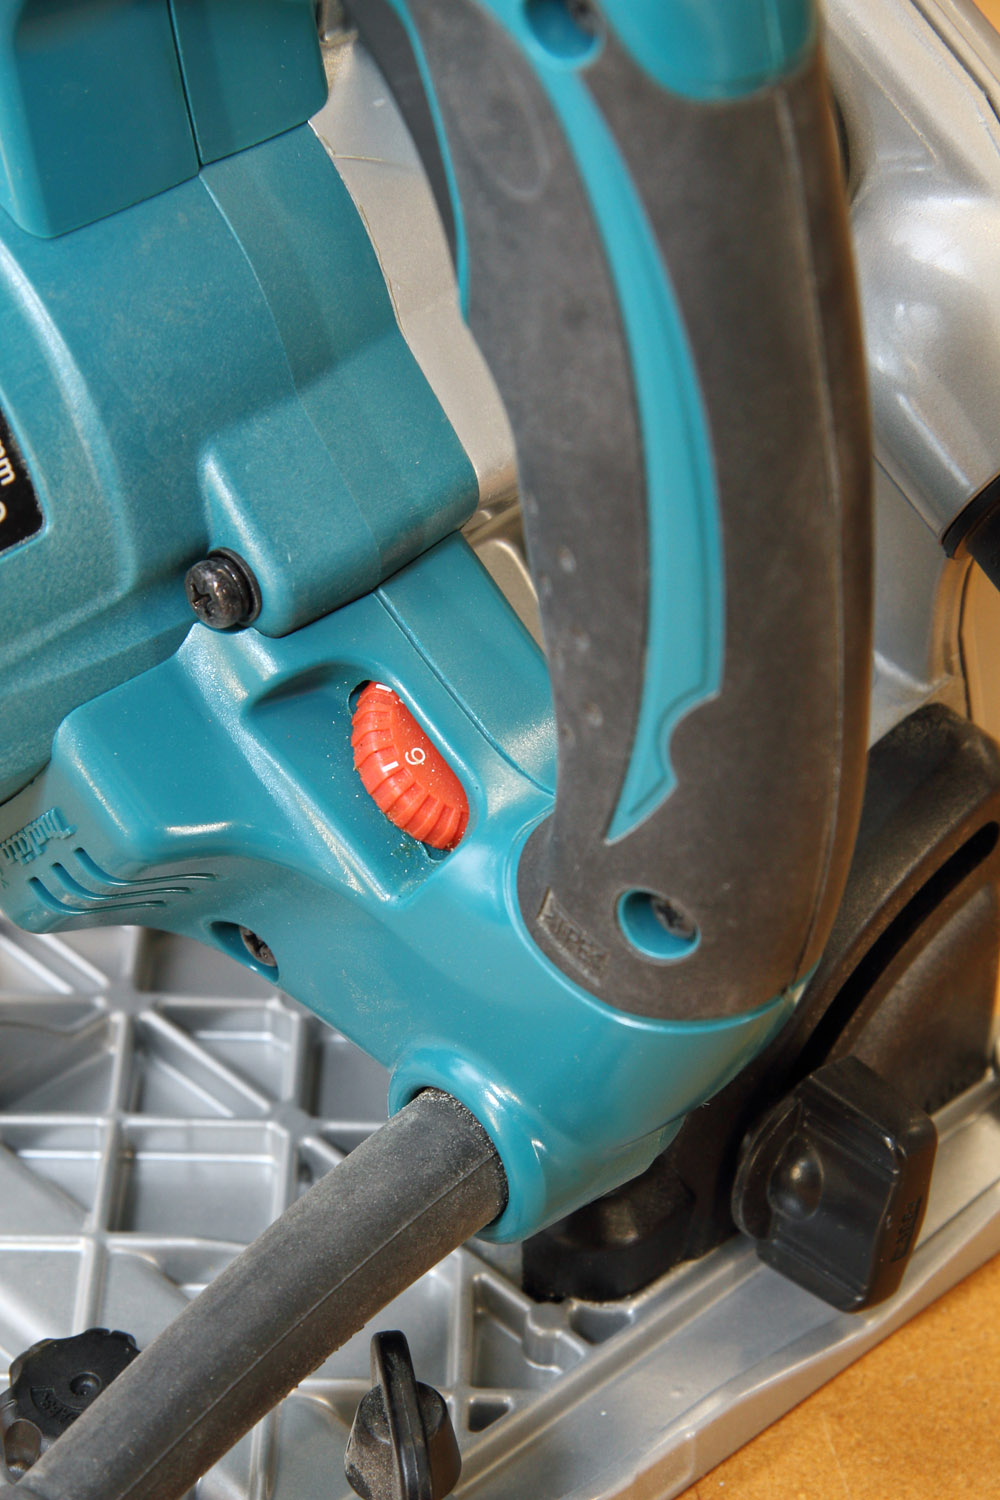
The Makita has a variable speed dial that allows a speed to be selected anywhere between 2000-5200 RPM. This feature comes in handy when working with different materials or thicknesses of materials to suit the speed to the cut.
Grip & Plunge Action
The handle and grip are both very comfortable with a soft rubber overmold. The plunge action is smooth and precise without any play in it. An accurate plunge mechanism is key to getting a precise cut.
Power Cord
The Makita has an 8' long power cord which works fine but it would be helpful if it was a little bit longer. Many of the newer power tools these days are being supplied with longer cords in the 16' range which come in very handy since in a lot of situations an extension cord can be avoided.
Blade
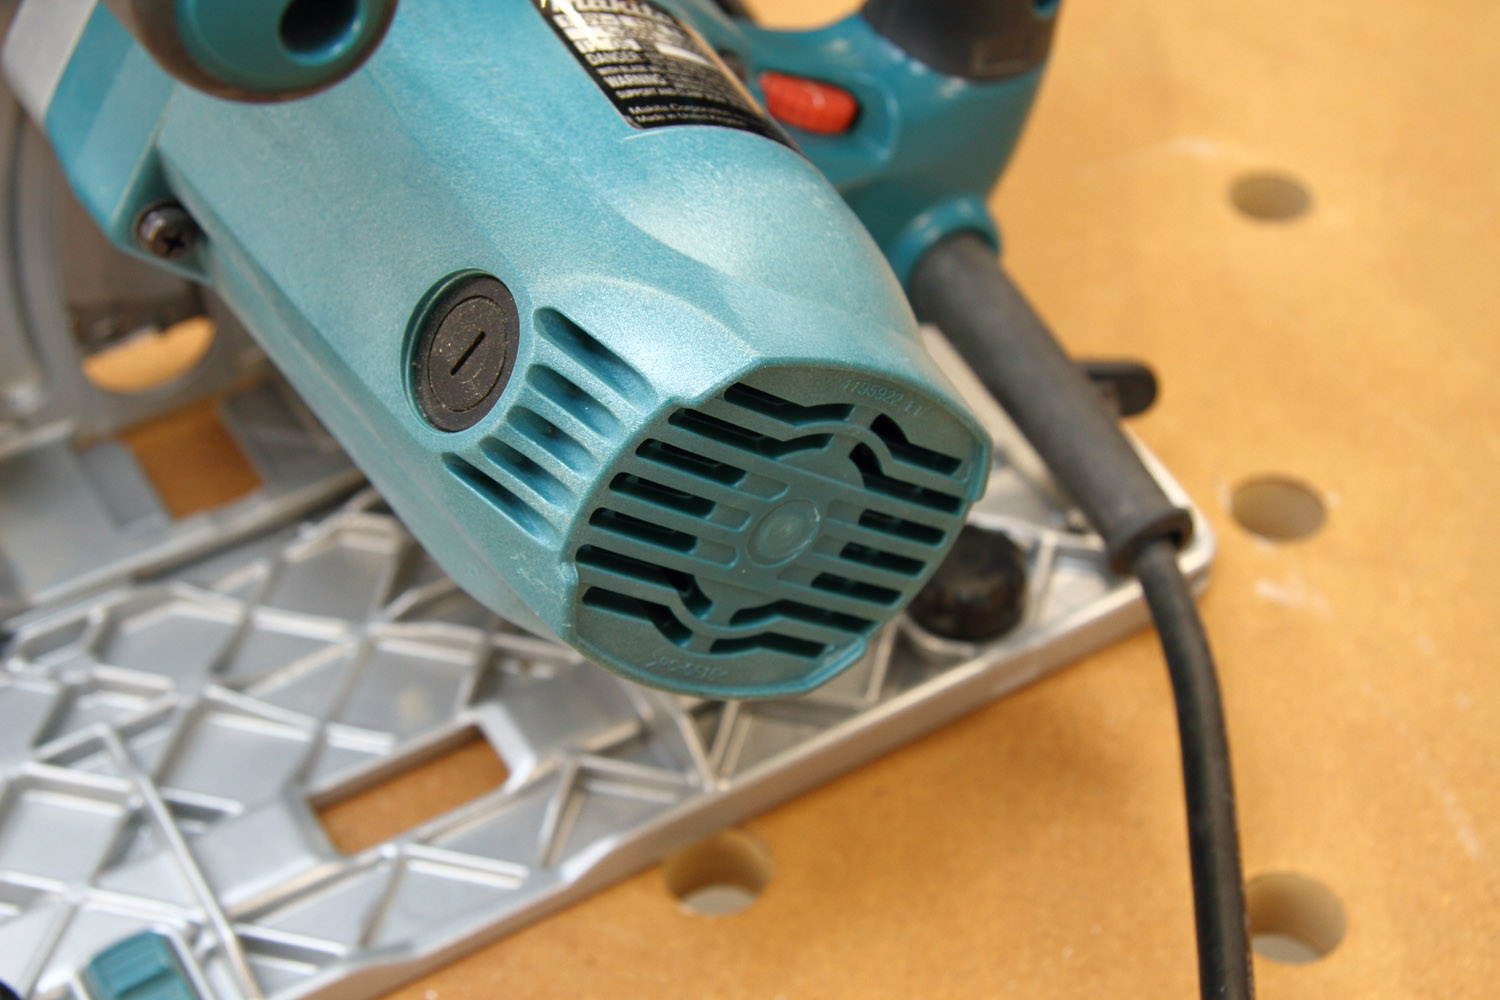
The blade that comes with the saw is a 48 tooth cross cut blade and I've been very impressed with it, especially for a stock blade. I was so impressed with it that I actually bought a second stock blade to switch out for sharpenings. Makita generally does a very good job with stock blades. Blade changes are quick and easy with a mechanism that locks the plunge in the right position to access the arbor screw. An on-board allen key is supplied for blade changes and the saw also features an arbor lock button. The end of the motor housing is flat which makes it easy to sit the saw on its side during blade changes.
Dust Collection
The Makita has a swiveling dust collection port at the back of the blade housing that is very effective. When you compare the dust collection efficiency to a circular saw, it is night and day when hooked to a dust extractor. I've been very pleased with the dust collection efficiency of the Makita since there is very little dust that escapes when used with a vacuum. Less dust equals less clean up time.
Guide Rail
Makita 55" Guide Rail
The guide rail is one aspect of the Makita that I was disappointed with and had some frustration with. I bought two 55" rails so that I could join them together with the joining kit for ripping sheet goods. My issue was finding two rails that were straight enough to suit my purposes. Now to be fair I was being fairly fussy with them and was looking for the rails to be within a few thousandths of an inch of being straight since I sometimes use them for cutting joints in countertop. To make a long story short, I ended up sending a few rails back and forth with Makita until I settled on two that were good and straight. I will say that Makita was good to deal with though in getting this sorted out. I did still have an issue though with the rails being slightly out of flat from side to side which I fixed by gluing a strip of laminate under the splinter strip. So I did have some issues, but in the end I have two rails that work very well for me. On the positive side, the grip strips on the bottom of the tracks work great and really grip the material well. For most cuts clamps are not even required.
In Use
As a cabinet maker, the bulk of the work I do with my Makita track saw is breaking down and sizing sheet goods. I make all my rip cuts first with the two rails jointed together (using the joining kit) and then cross-cut everything to final length. I find the Makita indispensable for working with sheet goods since it is so quick and accurate to use. I use my Multi Purpose Table (MPT) along with the track saw for both rips and cross-cuts. The MPT gives me a full size sacrificial cutting surface for rip cuts and also provides super accurate and repeatable cross-cuts using the cross-cut jig and Parf dog system. (Learn more here) As I mentioned earlier, it is often much easier to bring the saw to the work rather than the work to the saw and this is especially true of heavy sheet goods. Also, check out my shop-made parallel guides and guide rail case that I've added to my track saw setup.
In addition to cutting and sizing sheet goods, I have also used the Makita for cutting solid wood and doing countertop work. With a ripping blade installed I've ripped wide maple boards giving very accurate results. I have cut both laminate and solid wood countertop joints with the Makita and it worked well for both applications. The solid wood countertop was a thick maple wrap-around countertop and I used the Makita to cut all of the joints. I was very impressed with the power that the Makita has considering how thick and dense the top was. I made the cuts in a couple of passes to reduce the strain on the motor and heat build up in the blade. In situations like cutting the maple countertop, I will use the Makita track clamps to secure the track down since it is a super critical cut and a heavy cut.
DP Tool Score
Quality - 3/5
For quality I gave the Makita 3 out of 5 stars. I've had no issues at all with the saw itself but I was a bit disappointed with the issues I had with the guide rails. Depending on what type of work you intend to use the saw for though, this might not even be an issue.
Performance - 5/5
For performance I gave the SP6000 5 out of 5 stars. With plenty of power and the ability to give accurate, splinter-free cuts it definitely delivers on performance.
Design - 4/5
For design I gave it 4 out of 5 stars. It would be good to see an imperial depth scale option as well as a longer power cord but it also has a lot of useful features. Ergonomics are great and adjustments quick are easy to make.
Value - 5/5
For value I gave it 5 out of 5 stars since the Makita provides great performance and features for a very reasonable price. I think when it comes to bang for your buck it is very hard to beat the Makita SP6000.
Overall DP Tool Score - 4.25/5
Conclusion
To sum it all up, the Makita SP6000 has provided me with the power and precision that I need for the work I do. The ability to lay down the guide rail right on the cut marks and know that is exactly where the cut is going to be is crucial. Also, getting a clean and splinter-free cut saves a lot of time compared to having to go back and clean up a cut made with a circular saw. As I mentioned earlier, the dust collection works very well too which saves clean up time so it makes for an all around efficient tool.
If you are in the market for a track saw, I would definitely recommend the Makita SP6000. It packs in a lot of great features and performance for a very reasonable cost. If I had to replace mine, I would buy the Makita again. Watch my full video review below to learn more and see the SP6000 in action. Also, if you think the Makita SP6000 is the right tool for you, please consider buying it through my affiliate link below to help support the site. If you have any comments or questions be sure to leave them in the comments box at the bottom of the page.
Watch my full video review and see the SP6000 in action!

