Make dust-free cuts right where you're installing!
If you've ever cut and installed laminate flooring before, then you know that it creates a dusty mess. Cutting outside is time consuming to go back and forth and still makes a mess of the outdoor space. I've come up with a couple jigs that work with a dust extractor and a circular saw that allow for near dustless cuts. Being able to make all the rip cuts, cross-cuts and notches right along side of where the flooring is being installed is a huge time saver. These jigs have been a game changer for me on laminate flooring installation jobs and ultimately allow me to make more profit. I'll go through both of the jigs below and explain how they work. Also make sure you check out the DP Shop Talk episode at the bottom to see the jigs in action as well as a list of recommended tools!
(Be sure to join in the discussion at the bottom and leave your comments and questions, and also use the share button to share the article with your friends and colleagues).
Cross-Cut Jig
Dustless circular saw cross-cut jig with sub-base and sub-fence installed.
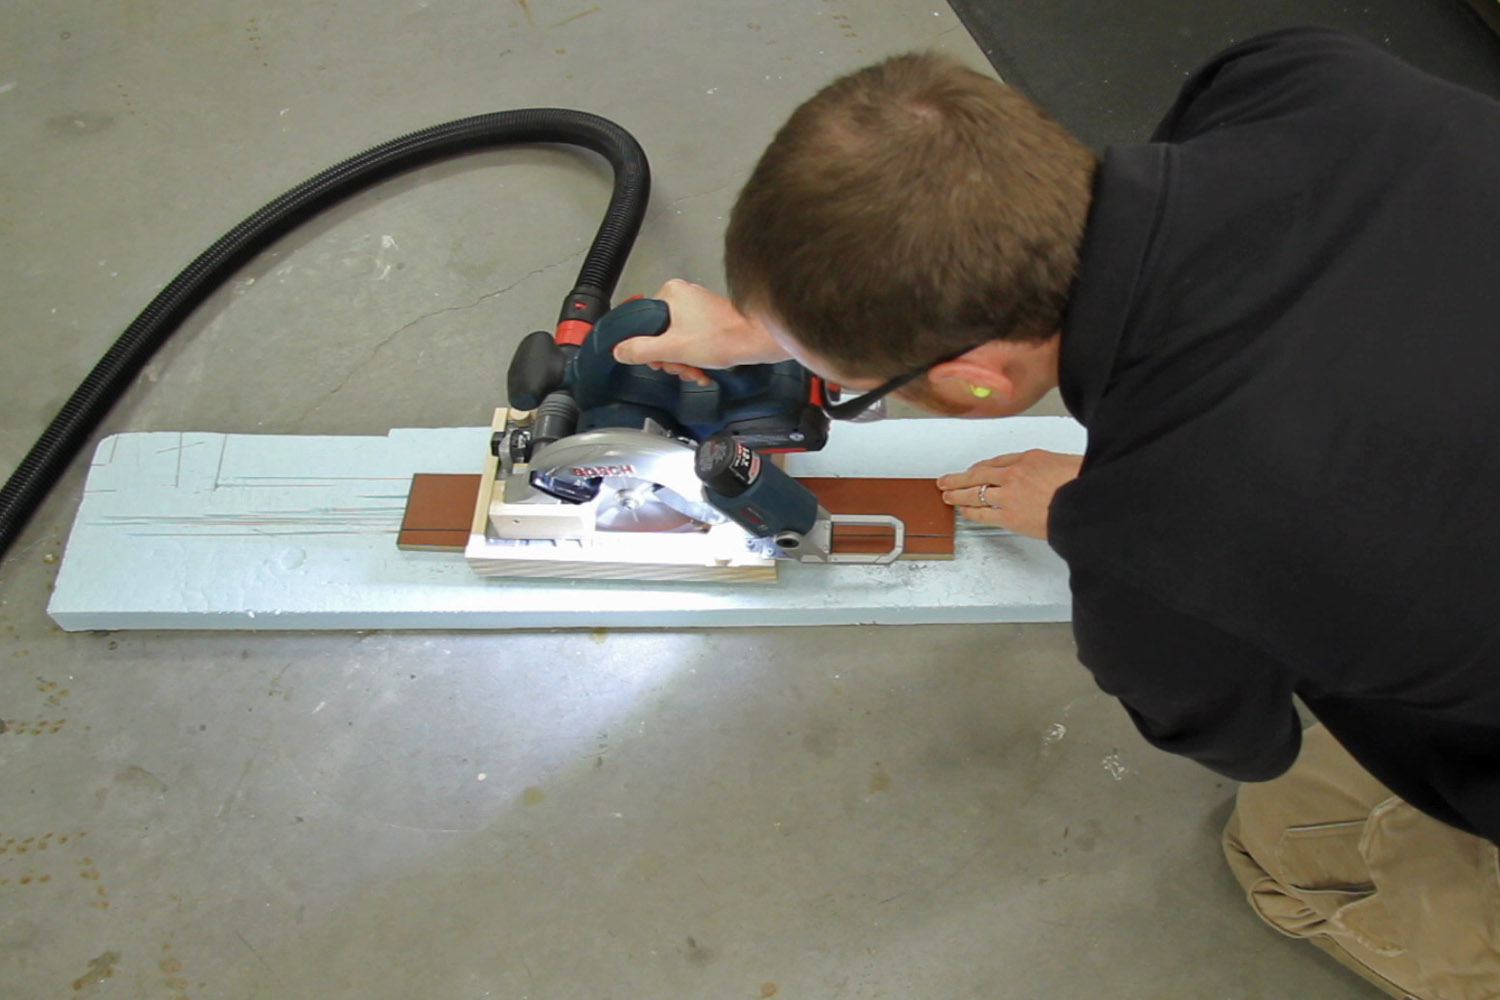
The circular saw cross-cut jig I designed a few years back for accurate cross-cut work on site when a miter saw isn't required. For the purposes of cutting laminate flooring, I added a sub-base and sub-fence so that the coarser blade that I use doesn't end up widening the kerf line in the actual jig. I buy blades that are cheaper and more disposable for cutting laminate flooring since it's abrasive and hard on blades. The sub-base also allows the flooring to sit closer to the saw which further improves dust collection. The cross-cut jig basically makes the circular saw work similarly to a sliding miter saw as it slides back and forth on a low friction rail. A shop-made dust collection attachment for the circular saw makes for very efficient collection of the dust. The saw that I've found to work really well with this jig is the Bosch CCS180 since it has a groove in the bottom to run on the rail and gives cordless convenience. Learn more about the circular saw cross-cut jig in the video below or how to make one here.
If you happen to be in the market for a new circular saw I would definitely recommend the Bosch CCS180 18V saw. I've had mine for a few years now and it is my go-to circ saw since it has plenty of power, is accurate, lightweight and has cordless convenience. The run time with the 4.0 Ah batteries is impressive too. I cut and installed over 400 sq ft of laminate flooring on one battery charge!
Cross-cutting laminate flooring with the circular saw cross-cut jig
Learn more about the circular-saw cross cut jig!
Ripping Jig
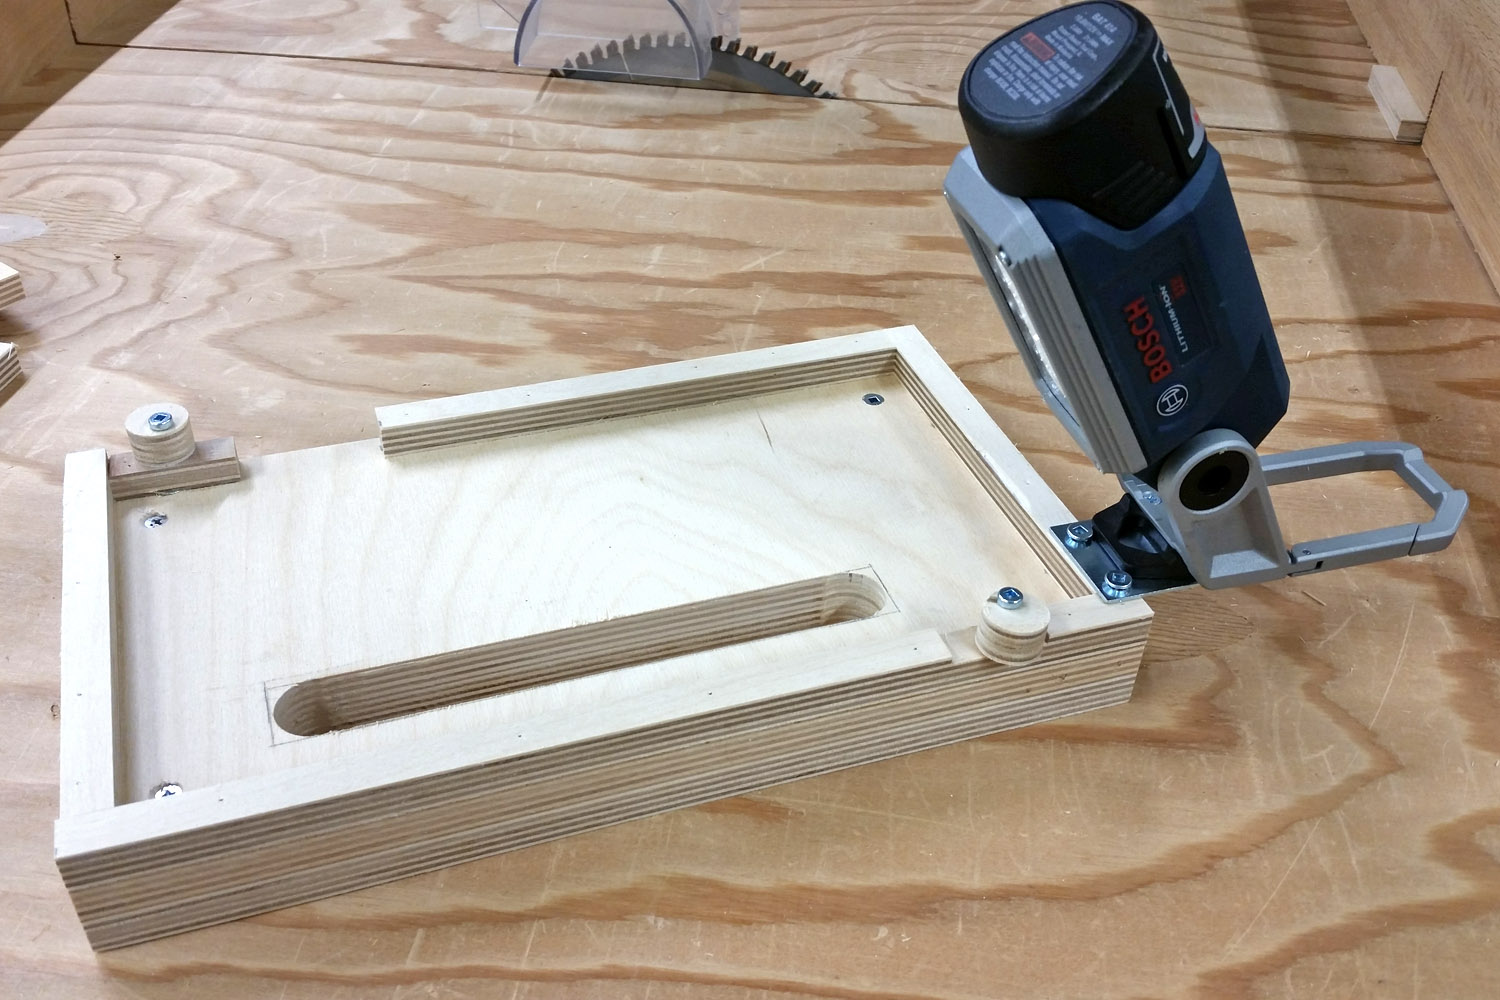
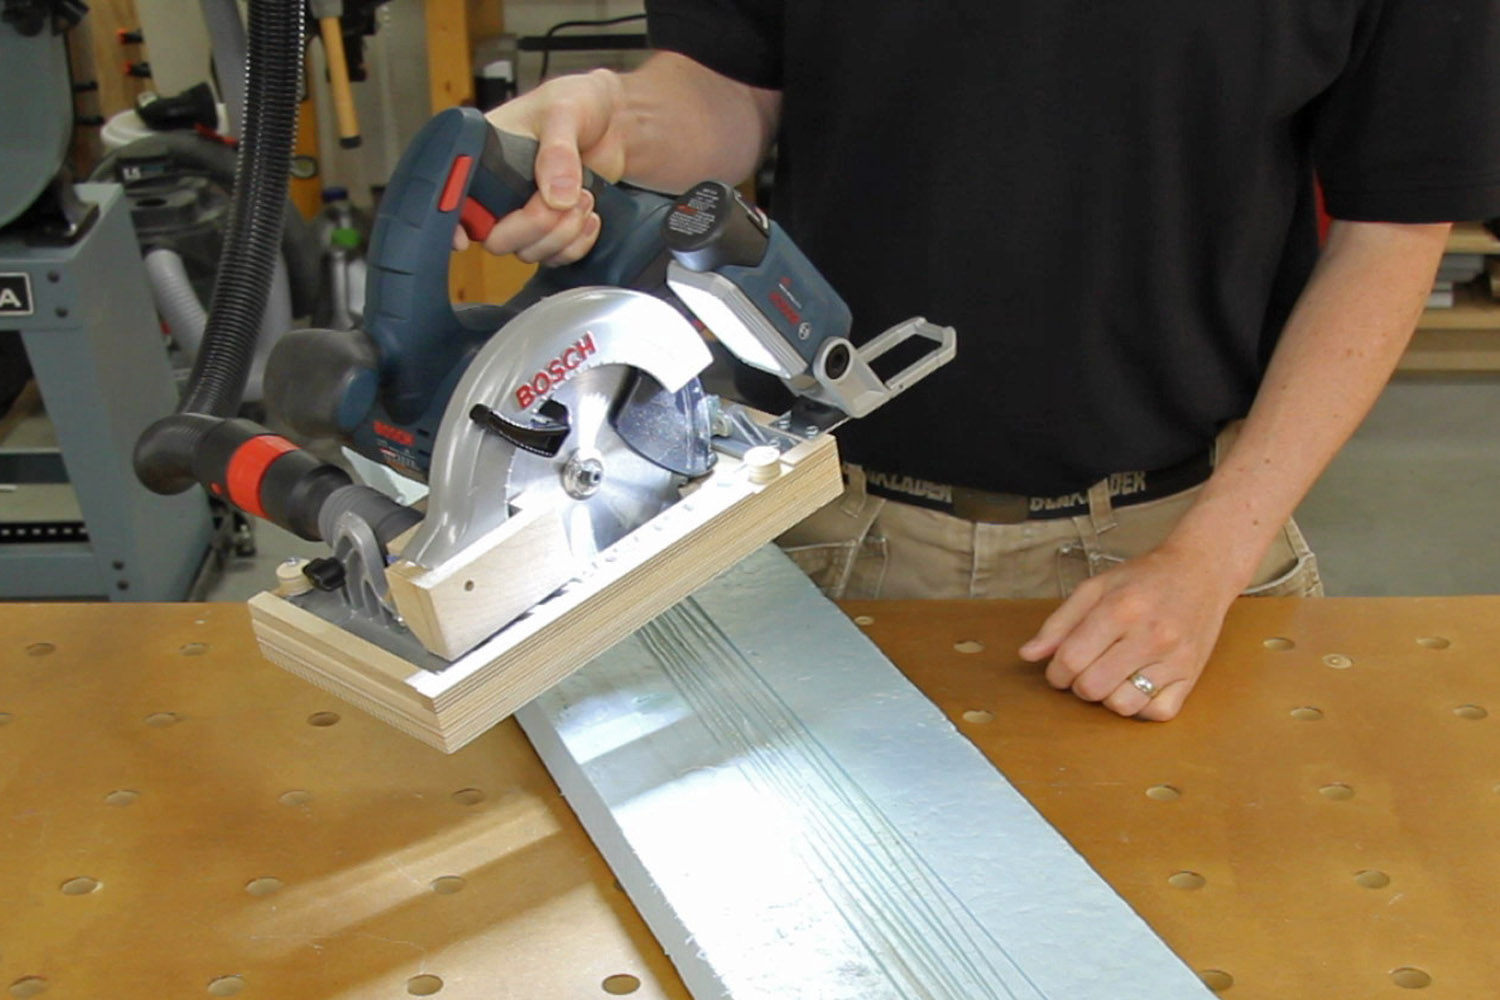
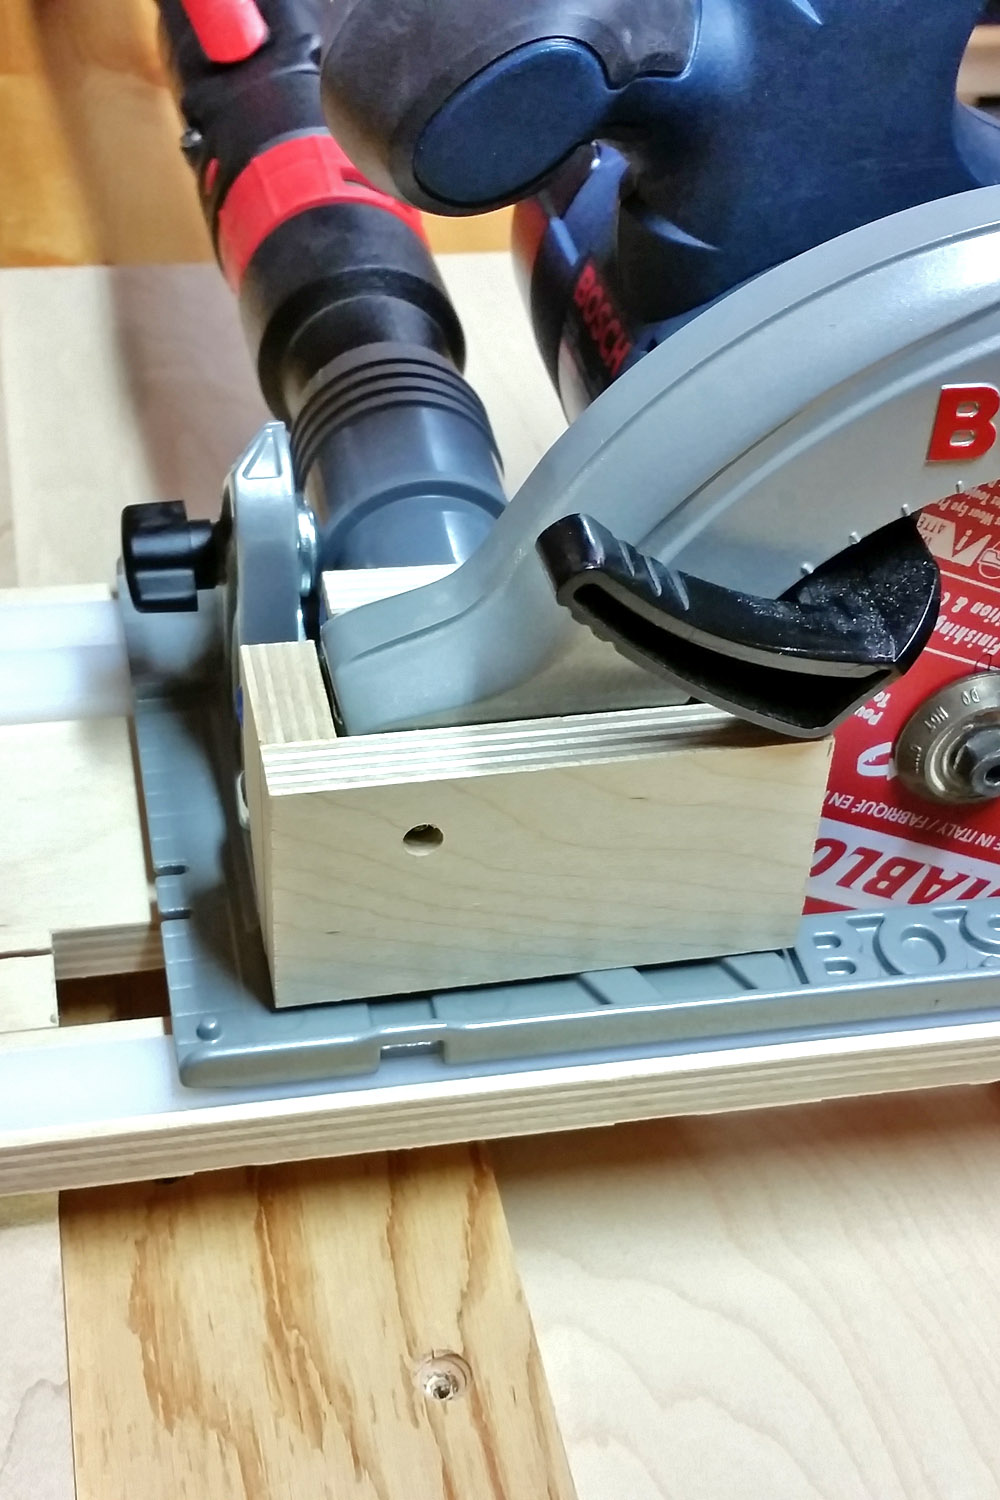
Circular saw ripping jig
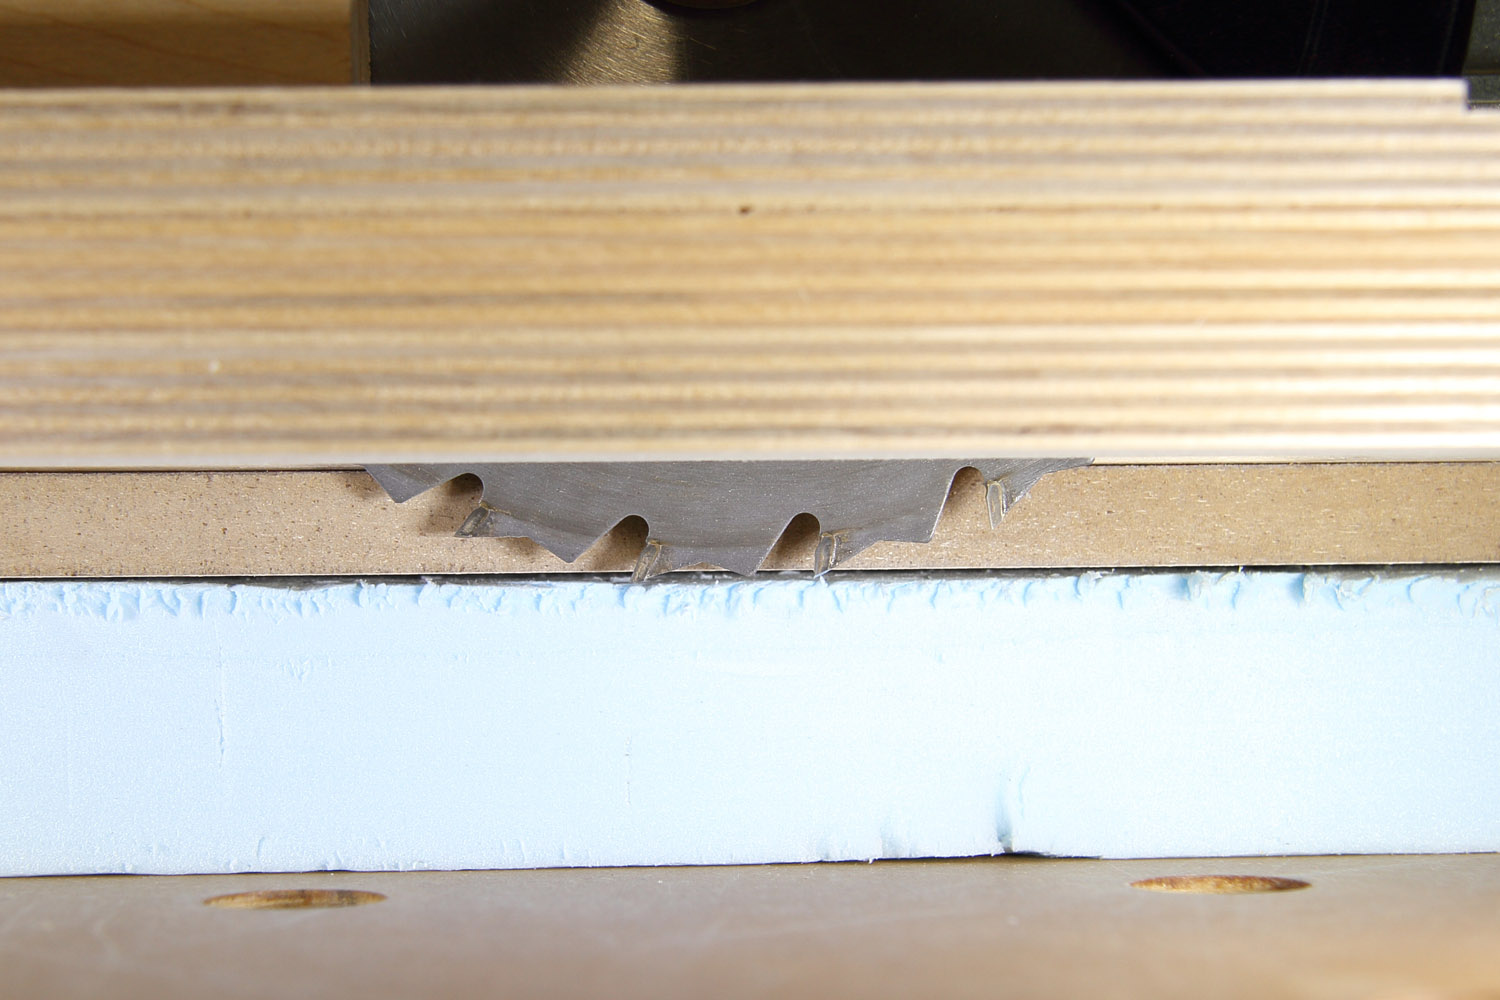
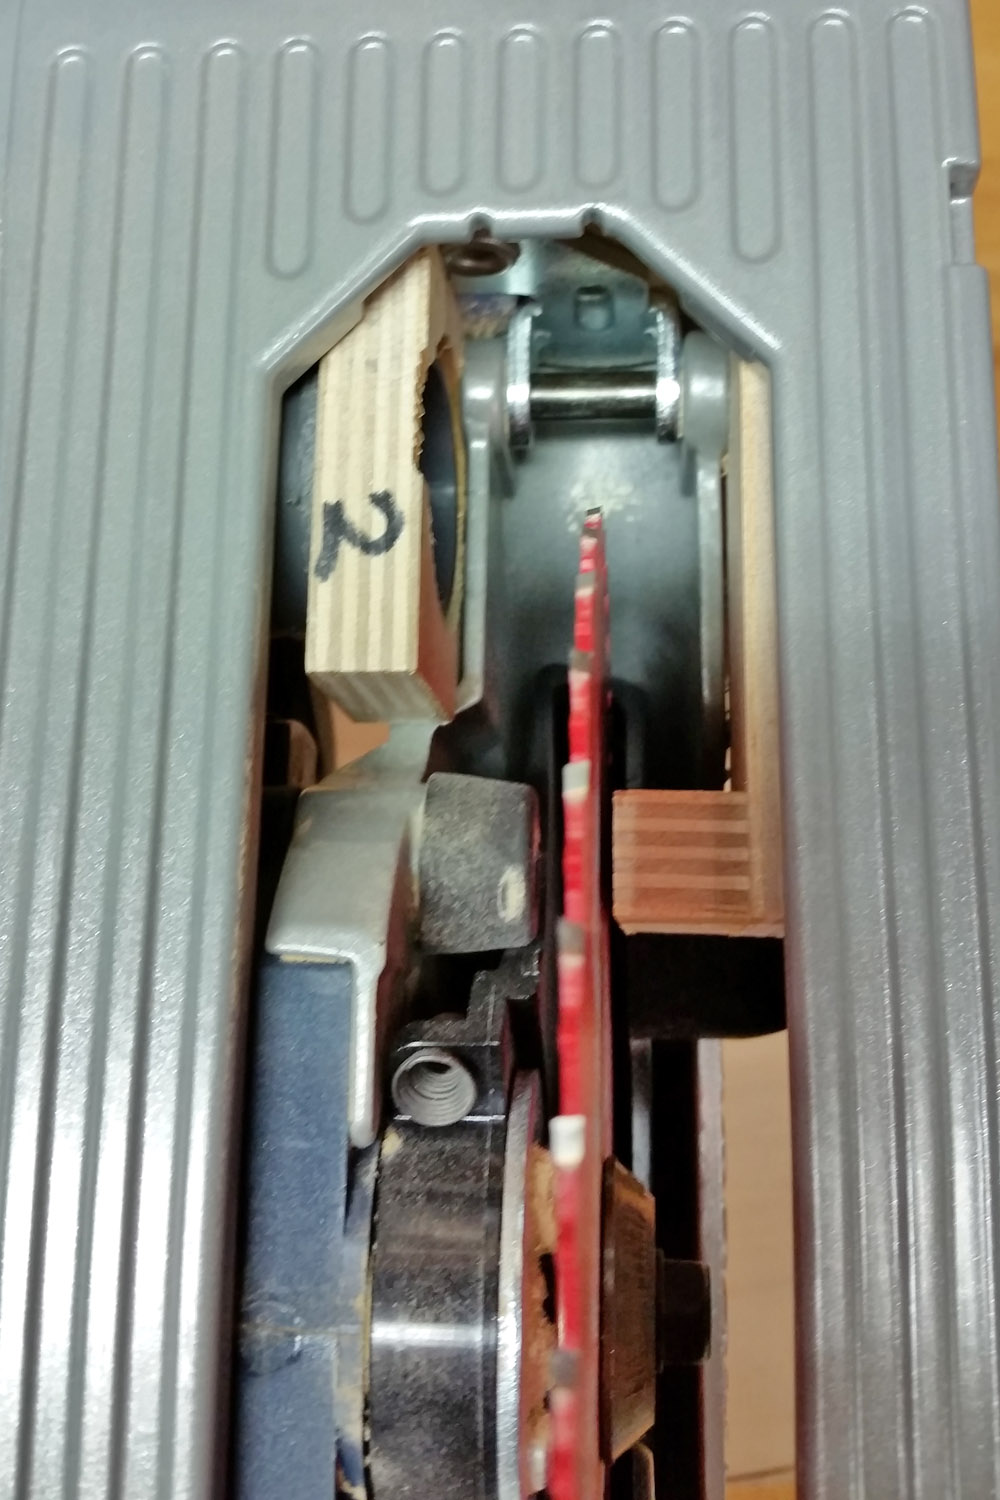
The ripping jig is simply a base that quickly attaches to the bottom of the circular saw to act as a spacer. The base of the jig is made up of two layers of 1/2" Baltic Birch to give an overall thickness of 1". This allows the saw to be kept at the same depth setting when switching between the cross-cut jig and ripping jig which is key for speed and efficiency. The jig is held onto the saw with two eccentric discs, similar to what I used on the jigsaw scribe base. The ripping jig has a slot cut in it for the blade to pass through but the slot is narrow enough that it holds the guard out of the way (be extremely careful using this jig since the guard is not in its normal position!). The depth of cut that the saw gives is just slightly more than the thickness of the laminate flooring, so the cut can be backed by a piece of sacrificial foam insulation. The foam insulation also helps to improve dust collection, helping to contain the dust from the bottom and direct it back upwards to the collection attachment. For working in darker rooms I also added a metal plate on the back of the ripping jig to allow a Bosch FL12 work light to attach magnetically.
Curved & Notch Cuts
Making notch cuts with the jigsaw
To make curved and notch cuts I use my jigsaw with a built-in dust collection attachment. There are several different jigsaw models on the market with dust collection but my personal favorite is the Bosch JS572EBL. It is a very capable saw with a lot of useful features, one of them being the dust collection. I back the cuts with the same piece of sacrificial foam insulation which again helps to improve the dust collection by keeping the dust contained at the bottom of the cut. The best blades I've found for cutting laminate flooring are the Bosch T503 (no, I'm not sponsored by Bosch, I just really like their tools). They are specifically designed for cutting laminate flooring and are made of high speed steel (HSS), so they stay sharp for much longer in abrasive materials like laminate flooring. They are also short enough that they only cut part way into the sacrificial foam insulation backer. It's great having full cutting support when using a sacrificial backer like this rather than cutting with your work piece balanced on the edge of another surface.
Dust Extraction
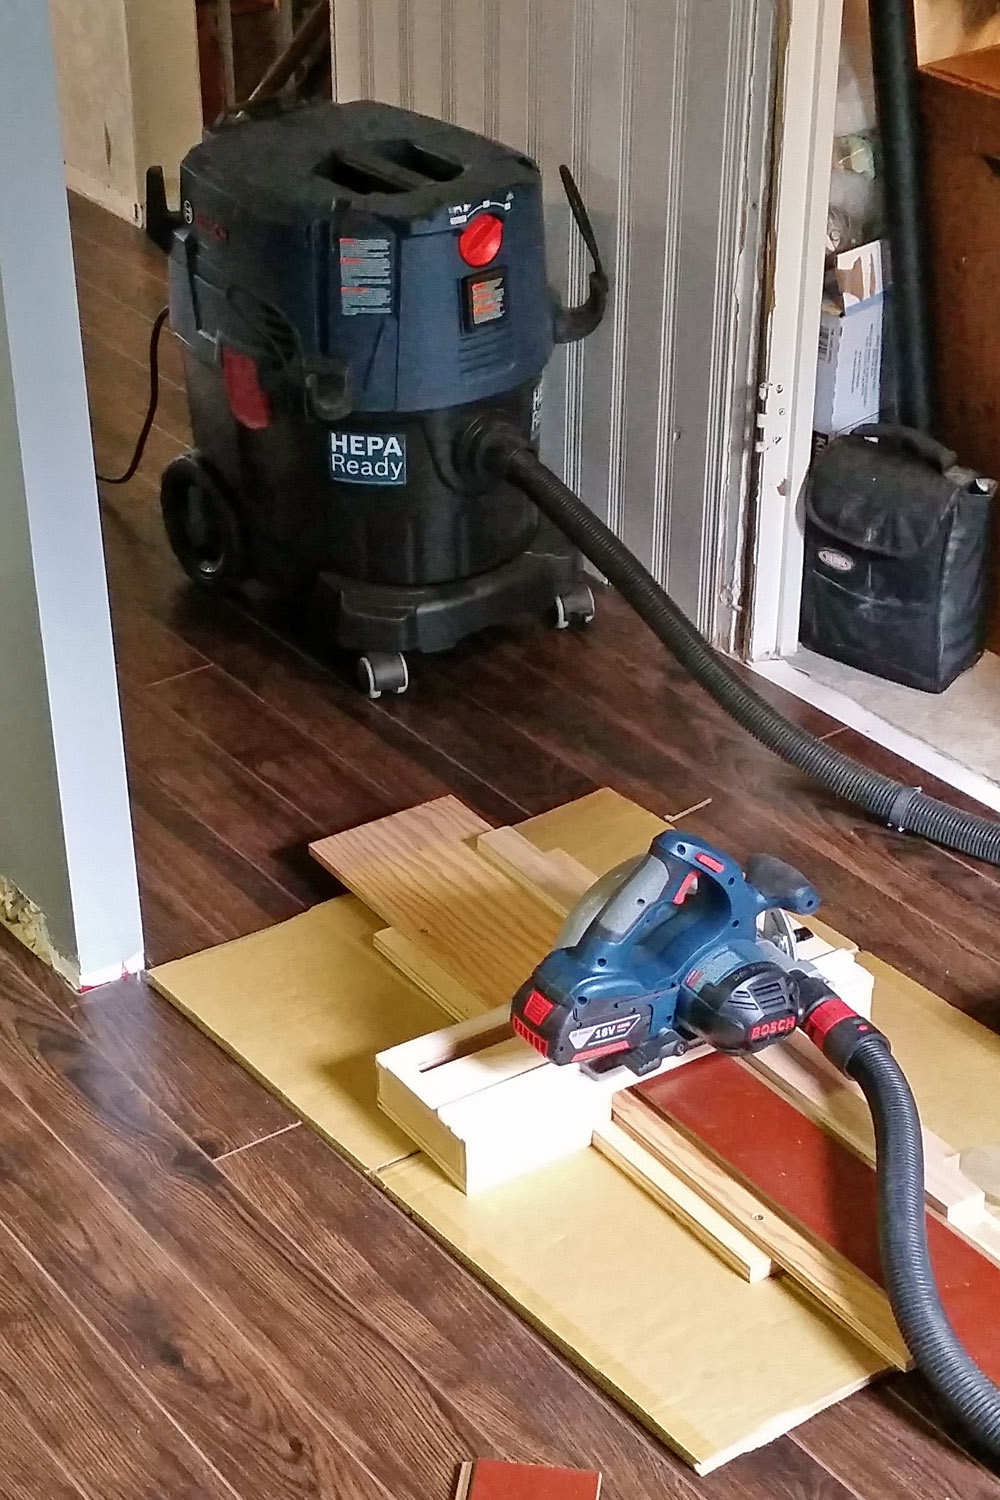
Any kind of shop vac or dust extractor will work with the the circular saw dust attachment, but my personal favorite is the Bosch VAC090S with a HEPA filter installed. The higher power and CFM (cubic feet per minute) really help capture the maximum amount of dust. You can watch my full video review of the Bosch dust extractor here. Having a HEPA rated vacuum also provides extra peace of mind not only for yourself but for clients. The shop-made circular saw dust collection attachment will differ depending on the model of saw that you're using but the concept is the same. You want to get the suction from the vacuum as close to the cut as possible and enclose the space around the front of the blade to concentrate that suction. I simply used some small pieces of plywood and a plastic plumbing fitting to create the dust collection attachment for my saw. The whole attachment just bolts on with a machine screw through a hole that was already in the saw. If you take a look at the photos of my dust collection attachment you should be able to make something similar to fit your brand and model of circular saw.
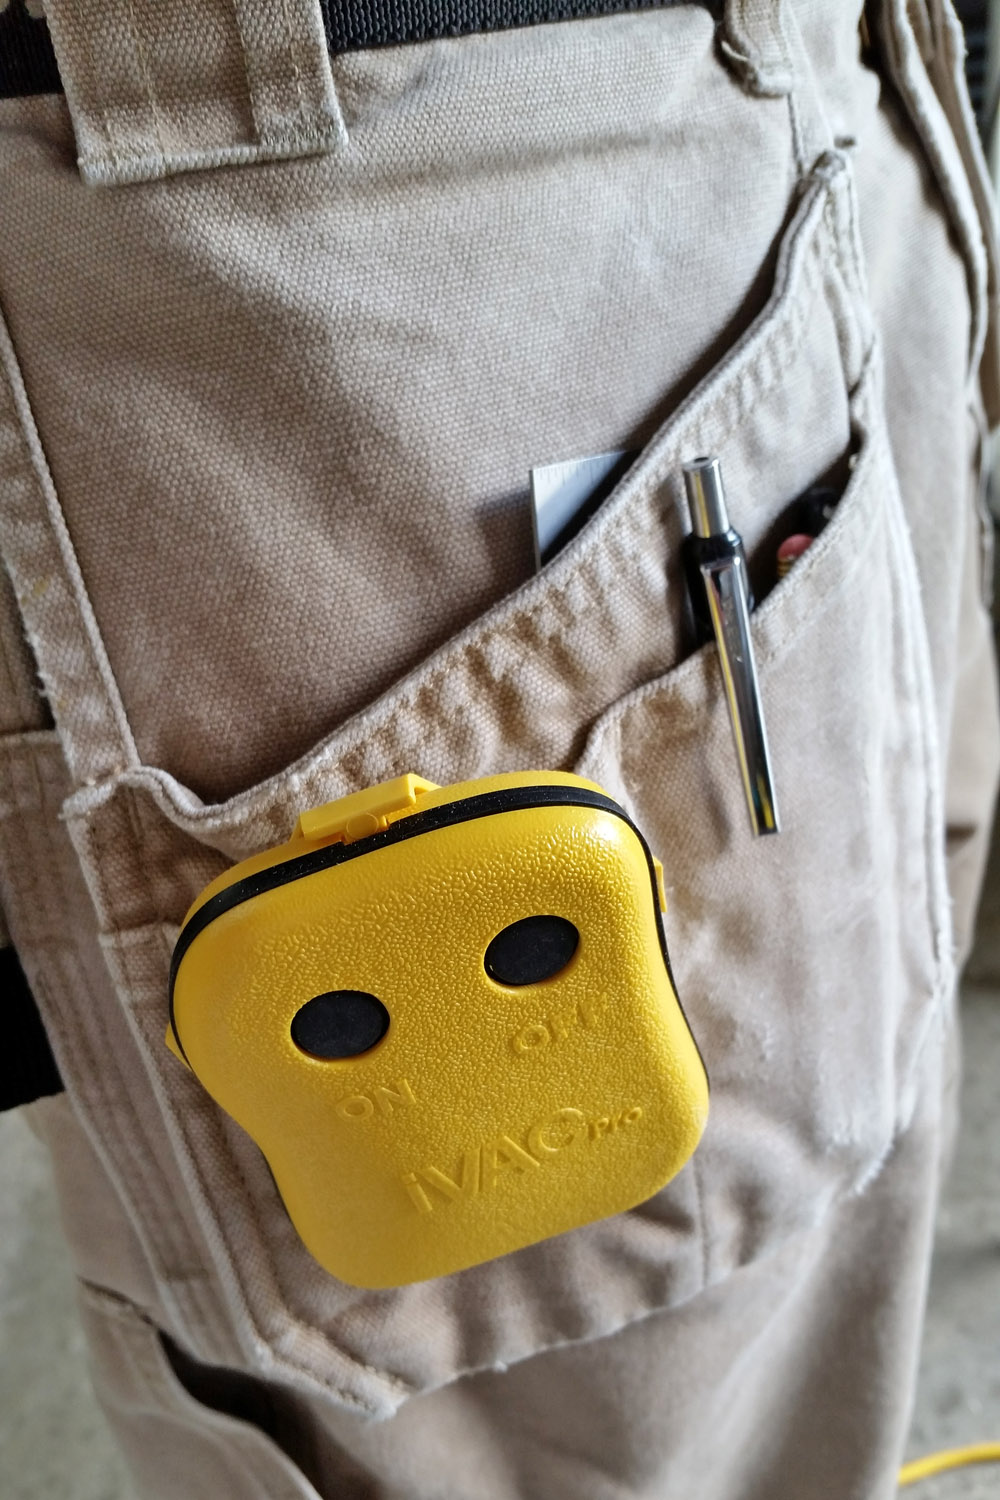
To trigger the vacuum, I use an IVAC PRO Remote Automated Control with the remote clipped to the pocket on my pants. This makes it very quick and convenient to control the vacuum especially when using a cordless saw that can't automatically trigger the vacuum since it doesn't plug in. The vacuum simply plugs into the IVAC control box and then the remote controls the vac. I use the IVAC remote even with corded tools that can be plugged directly into the Bosch vac since it's so convenient to use with the remote clipped to my pocket. I have the on and off buttons memorized so I don't even need to look to turn the vac on or off.
Conclusion
So when all of these jigs and methods are put together, they create a cutting setup that is quick, efficient and clean. Like I mentioned earlier, having all the tools to make every kind of cut right beside where the flooring is being laid is a huge time saver. I keep all of the jigs, the saw and the dust extractor on the floor beside me in whichever room I'm working in. Working dust-free is also much healthier and saves a lot of clean up time too. Below are a couple of quick videos from my Instagram account (be sure to follow me) showing the cross-cut jig and ripping jig in action on a recent laminate flooring job I did. You can also watch the accompanying DP Shop Talk episode below to learn more about the jigs and see them in action. If you have any comments or questions be sure to leave them in the comments box at the bottom of the page.
DP Shop Talk Episode
Watch the DP Shop Talk episode that goes along with this article to see the jigs in action and learn more about them. If you have never seen DP Shop Talk before, it is my YouTube show that focuses on shop made efficiency solutions and features how-to videos, shop tips, jigs and tool reviews. Be sure to subscribe to the channel to stay up-to-date with the latest content!
See the jigs in action & learn more!
DP Recommended Tools
If you have found this article and video helpful and would like to help support the site, please consider buying any of the related tools and accessories through my Amazon affiliate links below. By using my affiliate links you're helping support the site and the DP Shop Talk channel which helps me help you, by bringing you more content. There is no extra cost to you but Amazon gives me a small commission from any items purchased (even if you purchase other non-related items). I am not sponsored by any tool company so my tool recommendations are solely based on my own experience. Any support is very much appreciated! You can also see more recommended tools in the DP Toolbox.
